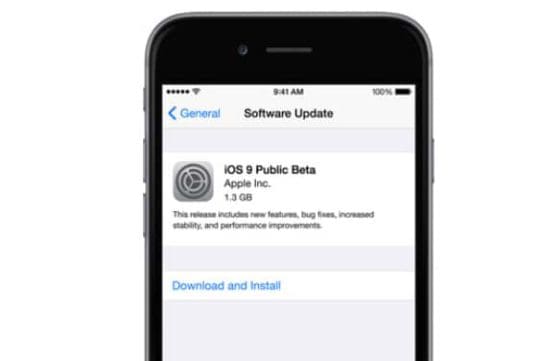
Update: Apple announced that their official iOS 9.3 firmware will be released to the public, later on, today. If you get a chance to get the upgrade but for some reasons not happy with it, you can use the following methods to restore back to earlier iOS version.
Although iOS 9.3 promises a lot of good features, 9.2 related problems left a bad taste in our mouth. There are a number of us that are still recovering from wi-fi issues, battery drainage issues etc related to the 9.2 upgrade. For the most part, the iOS 9.3 seems to be holding up well when it comes to performance. UI lag has been reduced quite a bit and spotlight search opens every time without slow down problems. Folks that have the iPhone 6S Plus can really see the difference in speed as the 3D animations are pretty smooth. There is also more built in security features around the stock applications, particularly with Notes. The Night Shift setting is definitely a much needed one as you can see from our article that we covered yesterday.
However if you are experiencing issues with the iOS 9.3 Beta in that you are seeing even more, problems for your iPhone, iPod touch, or iPad, here is how you can downgrade back to iOS 9.2 and wait till the 9.3 public release is out.
If you think that iOS 9.3 isn’t for you, this tutorial will guide you through each step to downgrade back to iOS 9.2 using iTunes on either Mac or Windows system.

How to Downgrade from iOS 9.3 to iOS 9.2
Before we get started, you may want to make a backup of your device. This is just to ensure that if something went wrong during the downgrading process, you can always revert back to your normal iOS 9.3 without losing any applications, images, and other data.
To create a back up of your iPhone or iPad, simply go to Settings > iCloud. There you will be able to pick each individual data you wish to include in the backup. Once you get that out of the way, let’s get going with the downgrade.
- Download Recboot to put your iPhone into recovery mode
- Connect your iPhone or iPad to a computer and launch iTunes
- Click Restore on the iTunes popup
- Click Restore and Update
- Choose Next on the iOS 9.2 Updater
- Agree to start the downgrade
This process usually takes around 15 to 20 minutes so please be patient and don’t interrupt it. Once your iPhone or iPad is restored back to iOS 9.2, you should see it running as normal again.
By the way, I asked you to make a backup of your iOS device earlier and I hope you did because all you see on your device right now is a clean iOS 9.2 firmware. In other words, only stock applications are available and nothing else.
You can load your backup by going back to iTunes and select Restore from this backup. Choose your archived backup that you made previously before upgrading to iOS 9.2.