Is your Mac not booting up after the latest macOS update? Or seeing a white, gray, or other Mac screen of death? If so, don’t panic! You’re not alone.
Some users report that their MacBooks and other Macs will not start after macOS update to macOS Mojave, High Sierra, or older macOS Sierra. At AppleToolbox have seen these issues with almost every major macOS or OS X release.
The majority of these problems are usually related to third-party software running on your MacBook. If your MacBook or other Mac does not start up at all after macOS High Sierra/Sierra update and hangs on a gray screen with an Apple Logo, here are some steps to consider:
Contents
Related Articles
- Mac Stuck on White Screen?
- macOS Could Not Be Installed, How To Fix
- Upgrading to macOS High Sierra? What You Should Know
Mac Won’t Turn On At All? 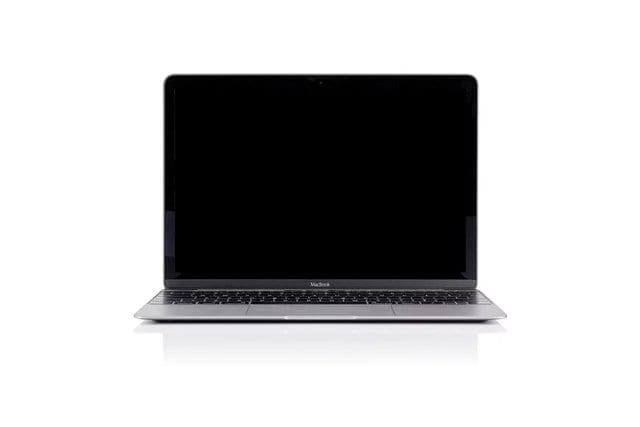
If your Mac doesn’t even turn on, let alone boot up, let’s check a few things
- Check that the power cord and the adapter are making a snug connection to your computer and wall outlet
- Make sure the outlet works by plugging in something else and testing it
- If available, try another power cable/adapter and see if the cable is the problem
- For MacBooks, verify that you are using the correct power adapter with your laptop–check the information guide that came with your MacBook
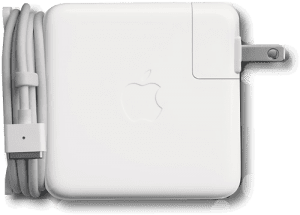
- Press and hold the power button for 10 seconds and see if your Mac starts up
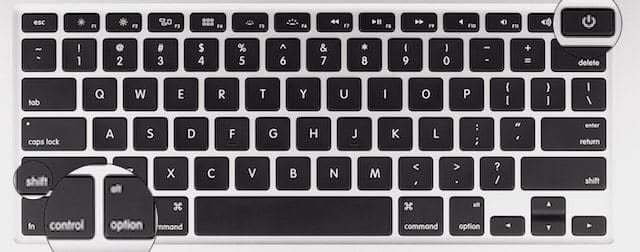
- Some readers tell us that holding these three keys: fn+ctrl+CMD plus the power button worked for them
- For MacBooks, disconnect/remove the battery (if possible) then plug in the charger and see if it powers up
- Verify it isn’t a display issue by disconnecting the display (if possible) and pressing the power button–if you hear any sounds like a startup chime, fan or drive sounds, or see any LED indicators, the problem is likely your display
- For MacBooks, when booting up press the trackpad–if it clicks, then there is likely a display problem
- Disconnect all accessories excluding mouse/keyboard and try turning your Mac on
- If you recently upgraded your Mac’s RAM, remove the new modules (replace back with original if needed) and test if the Mac starts up. Third-party RAM often causes these power issues
- Reset your Mac’s SMC (System Management Controller)
- For removable battery models: remove the battery, press and hold power for 5 seconds, reinstall the battery and power up to test
- For non-removable battery models: Go to Apple Menu > Shut Down (if needed), once shut down press these 3 keys shift+control+option from the left side of your keyboard, then press and hold the power button along with these 3 keys. Maintain this hold for 10 seconds, then release all keys at once. Power up normally to test
If your Mac does not respond after trying these tips, contact Apple Support or a certified Apple Repair Center. It’s likely there is a problem with your logic board or other internal hardware.
How Do You Fix a Mac That Won’t Turn Start-Up and Boot?
- Press and hold the power button for a few seconds until your computer turns off, then release the power button. Wait a few seconds and then press the power button to turn on your computer
- Disconnect all USB and FireWire devices, except for the Apple keyboard and mouse
- Don’t forget to remove any third-party hardware upgrades too, like any non-Apple RAM and PCI cards. Once removed, try restarting your Mac
- If this process resolves the issue, reconnect one device at a time, restarting your Mac after reconnecting each one, until you determine which device causes the problem
- Take a look at our detailed Mac White Screen article a try which shows all the usual steps that are taken when encountering this issue.
- Try to start Your Mac using Safe Mode. To do this, turn on your Mac when you hear the startup sound (if applicable), press and hold the Shift key until you see the Apple logo. If your Mac can start up, the problem may be that your computer does not have enough space. Did you see any low disk space warnings before this issue? Your Mac should have at least 10 GB of free space.
- If you successfully started up in safe mode, choose Apple menu > App Store, click Updates, and install any available updates
- Try resetting the NVRAM

- Shut down your Mac, then turn it on and immediately press and hold these four keys together: Option, Command, P, and R. Release the keys after 20-30 seconds, during which your Mac might appear to restart
- If your Mac uses a firmware password, this key combination does nothing or causes your Mac to start up from macOS Recovery. To reset NVRAM, first turn off the firmware password
- On Mac computers that play a startup chime, release the keys after the second startup sound
- For Mac computers that have the Apple T2 chip, release the keys after the Apple logo appears and disappears for the second time
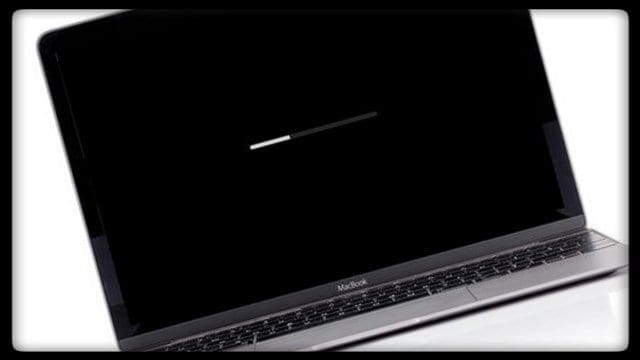 If still nothing, plug your Mac into Ethernet (if possible–if not, make sure it’s connected to WiFi) and follow these exact steps:
- Restart your Mac in Recovery Mode by holding down the Command (⌘) and R keys during startup
- Open Disk Utility and run the First Aid for your Macintosh HD or whatever you named your primary hard drive. Repair anything that’s noted
- Restart again using Internet Recovery Mode (hold down Command + Option + R.) This process takes time so be patient.
- Choose to Install a new copy of macOS. Again, BE PATIENT–this takes time. WAIT for your MAC to restart and then move forward with the installation
- Log in and follow on-screen instructions
Use Apple’s Hardware Test or Diagnostics 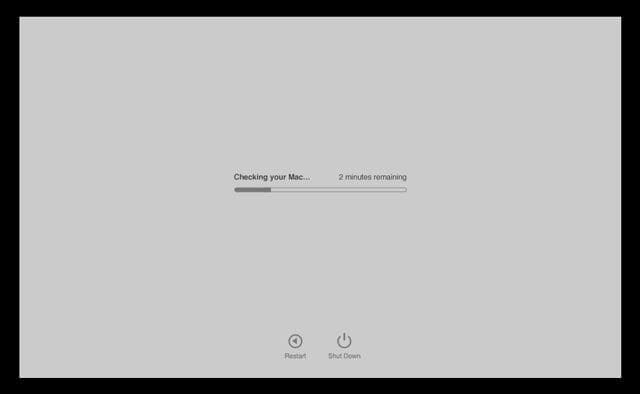
These native Apple apps tell you if the hardware you installed, such as additional memory, is incompatible, improperly installed, or defective.
Diagnostics or Hardware Test?
- For Macs from 2013 or later, use Apple Diagnostics that are built into your Mac
- If your Mac is from 2012 or earlier and has OS X v10.8.4 or later, use Apple Hardware Test that is built into your Mac
- For Macs from 2012 or earlier and has OS X v10.8.3 or earlier, use the system software disc or USB flash drive that came with your Mac
Apple Diagnostics
- Restart or shut down then press and hold the D key while the Mac restarts
- Apple Diagnostics starts automatically
- When Apple Diagnostics finishes, it lists any problems it finds
- If you need to change the language, press Command-L
Apple Hardware Test 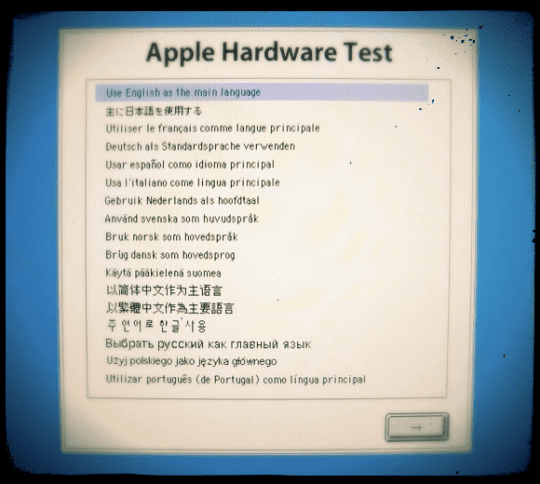
- Restart or shut down then press and hold the D key while the Mac restarts
- Select your language then press the Return key or click the right arrow button
- If you don’t see the chooser screen, Apple Hardware Test may not be available on your Mac
- Try and start the Apple Hardware Test from the Internet. Connect your Mac to a network, then restart your Mac while pressing and holding both the Option and D keys
If Apple Diagnostics or Hardware Test detect a problem, an alert message or list appears. Make a note of these to reference is you seek out additional support from Apple Support or another service repair provider.
Un-Assigned Kernel Misfiring
If none of the above steps helped your issue, the chances are that you have an unsigned kernel extension that is misfiring.
A kernel panic is often caused by damaged or incompatible hardware, including external devices attached to your Mac. If your Mac restarts unexpectedly, that is a definite sign that an error known as a kernel panic occurred. 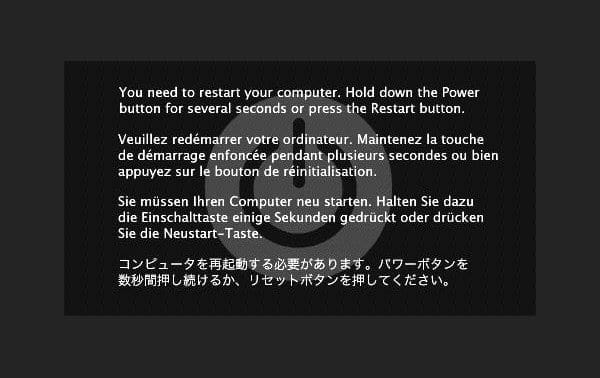
Kernel Extension is a piece of code that extends the capability of the base kernel of an operating system. The kernel typically manages I/O requests, and in OS X, the file ends in “.kext.”
In the past, kernel extensions that conflicted with the kernel code could cause a kernel panic—a fatal halt in the OS requiring a reboot. Using the kextstat command line utility, you can actually find out which kernel extensions have been loaded by OS X at boot up.
Starting with Yosemite, kernel extensions must be code signed by the developer with Apple authorization or OS X won’t load them. Sometimes these un-signed kernel extensions cause this headache after an OS X or macOS update.
To tackle the Kernel extension issue, first shut down the Mac and turn it on while pressing and holding Cmd +R to enter Recovery Mode. If your drive is encrypted, you have to unlock it and enter your encryption password.

With macOS Sierra (and High Sierra), to get the recovery program opening fully (correctly) “Command+R” needs to be held down during the full length of the booting process.
- Choose the language if needed
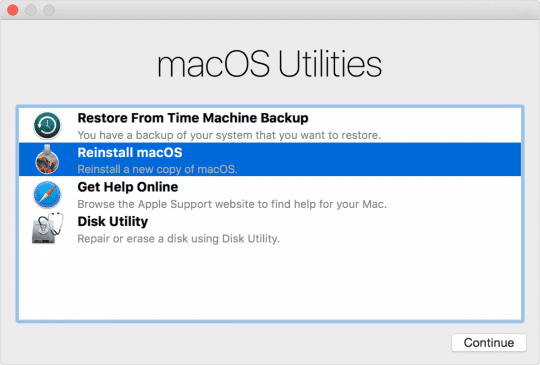
- On the MacOS Utilities screen, open the Utilities menu from the top of the screen
- Choose Terminal and launch the Terminal app within Recovery Mode
- Enter “kextstat -l | grep -v com.apple > NonAppleKext.txt” without the quotes.
- This creates the list of all non-Apple file extensions that you can look through to see if there is an obvious suspect. In any case, continue the steps below to remove the non-signed extensions.
- Enter “system_profiler SPExtensionsDataType > /Desktop/kextList.txt” without the quotes and hit return (this takes a while to run).
- There should now be a kextList.txt file on your desktop, open it and press both the “Apple(Command)” and “F” keys to bring up the find.
- In the find, field insert “Obtained from: Not Signed” Copy the destination to the .kext file to a list for use later. (Click next to cycle through all of them.)
- Example: /System/Library/Extensions/JMicronATA.kext
- Browse your drive to /System/Library/Extensions and remove any of the unsigned kext files.
- You can also unload these kernel extensions by using the following command on your terminal window. “sudo kextunload -b com.apple.driver.ExampleBundle” Use the extension name instead of the examplebundle
Once all the unsigned extensions have been handled, restart, and you should be all set to go.
No Utilities Menu?
Some Mac users report that they are unable to find the “Utilities” menu in macOS recovery mode. This situation is most often due to an issue with the recovery mode partition itself or booting from internet recovery mode rather than normal recovery mode.
Try booting into regular recovery mode and remember to hold down Command+R for the entire length of the boot. If that doesn’t work, you probably need to recreate the recovery partition.
macOS Installation Still Not Working or Stuck?
If you still can’t start up from macOS Recovery, try using another Mac (from a friend, family member, or even at an Apple Store) to create an external Mac startup disk on a USB thumb drive (at least 8GB of storage available on that drive.)
Follow the direction in Apple’s White paper on creating a bootable installer for macOS.
Reader Tips 
- Held down the option key, then hit the power button. Don’t release the option key until you see a grey box with a loading icon. Then the update continued and all was normal again
- Press and hold down fn-ctrl-cmd and the power button, it’s the only thing that works on my mac
- Hold down shift+control+option and power button for 10 seconds followed by plugging the charger, switching the Mac on via the power button worked for me. But I had to do these steps about five times before it finally did the trick!
Please let us know in the comments below if you have any issues. Good luck!