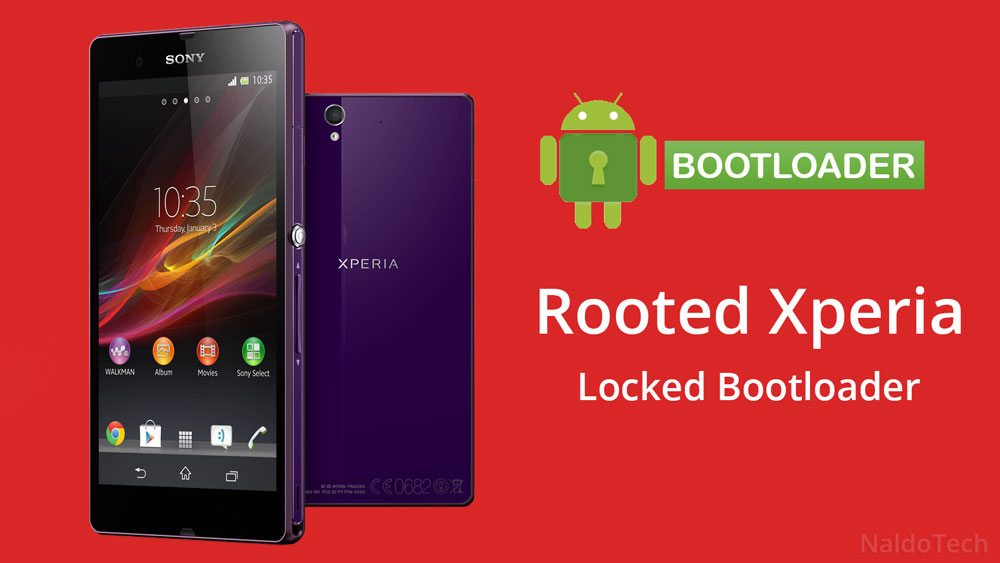
If you have a Sony Xperia device which is running on Android 4.4.4 KitKat firmware, you can root it without having to unlock the bootloader. Rooting is a process that unlocks endless possibilities to your phone.
You can do a ton of things with a stock Android device already, but the list expands a lot more once the word “root” comes in. With root access, you can overclock the phone for better performance, under clock the processor to improve battery life, delete or uninstall all unnecessary apps that simply take storage space and completely customize it.
Also Read: How To Restore DRM Keys After Unlocking Bootloader on Xperia Devices (Lost DRM Keys)
You can install special launchers, use applications that require root access and more. But on most of the devices, you need to have an unlocked bootloader if you want to root it. But Sony Xperia devices have a slight advantage as they can be rooted even if the bootloader is locked.
To do so, you must be running on an Xperia 4.4.4 KitKat firmware, have a locked bootloader and a few tools. The rooting process is very easy and at the end you will have a Sony device, rooted, running the latest Android 4.4.4 KitKat firmware.
The guide below works for all Sony devices for as long as they are running on an Android 4.4.4 KitKat firmware even though reports say that it can work on 5.0 Lollipop ROMs too.
Guide to Root Sony Xperia With Locked Bootloader (4.4.4 KitKat)
Downloads
There are a few things you need to download like Flashtool, rootkitXperia and FTF file.
Flashtool: link
rootkitXperia: link
Download Jelly Bean stock ROM (The FTF file depends on what kind of Xperia device you have.)
Install USB drivers: download
Getting ready
Enable USB Debugging. If USB Debugging is off, the phone cannot communicate with the computer. tutorial
Make sure that the battery level is high enough for the phone not to shut down during the process.
Make sure that you are running on the latest 4.4.4 KitKat firmware.
Rooting process
- Open Flashtool on your computer.
- Turn off the phone. Press the volume down button and connect the phone to the PC using a USB cable. The LED light on the phone should blink.
- Flashtool on your computer should say that the phone is connected.
- Using Flashtool, select the Jelly Bean FTF firmware for your phone. Uncheck all the boxes except “kernel”.
- Flash the Jelly Bean kernel and then disconnect the phone from the computer.
Now reboot your phone. It will bootloop. Don’t worry. That’s what should happen. Now connect your phone again to your PC.
Also Read: Install CyanogenMod 12 Lollipop ROM on Xperia SP With Locked Bootloader
- Using a terminal, go to the rootkitXperia directory and launch the script “install.sh” in Linux/OSX or “install.bat” in Windows.
- The phone will bootloop again.
- Disconnect the phone from the PC.
- Press the volume down button and connect the phone to your computer again.
- Open Flashtool and flash the kernel of your 4.4.4 KitKat FTF ROM.
- Reboot the phone and excecute the following command:
[quote_box_center]adb shell “su -c /data/local/tmp/install_tool.sh[/quote_box_center]
That is it. Now reboot your phone and it should be running on Android 4.4.4 KitKat firmware, rooted and with locked bootloader. This method is confirmed to work on Xperia M2 but it is said to work on other devices too like Xperia Z2, Z3. However, proceed at your own risk.
