In OS X Yosemite, the Preview Pane in Finder has been improved, such that it can now be used in any of the various “views”, such as Icon View, List View, Column View or Cover Flow.
This has made Finder even more useful, as it means that details of files and folder can be quickly examined in any mode, making your workflow and general use of Finder much more informative and streamlined.
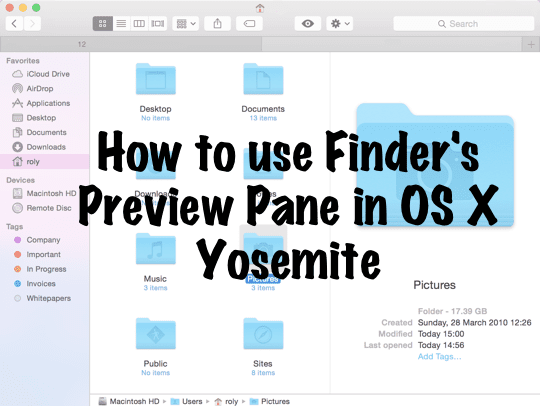
Here’s our quick guide to using Preview in OS X Yosemite.
Using the Preview pane
First things first, open Finder from the Dock or just bring one of your open Finder windows to the fore.
If you haven’t already changed any settings, most people’s Finder window will look pretty normal, just like this:
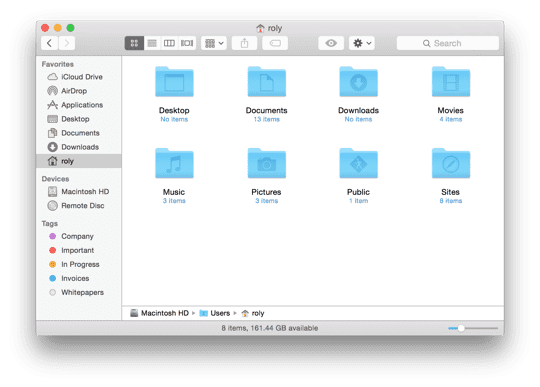
You can use any of the icons along the top row to switch modes. For example, some people prefer the icon view, while others prefer the column or list view which is rather more convenient if you are navigating between folders a lot.
Next, go to the View menu and select Show Preview to enable Preview in the open window that’s currently open. Note that it only affects the Finder window that you have currently selected and nothing else. In other words, if you have a couple of other Finder windows open, they will remain unaffected.

You can also use the shortcut (SHIFT + Command + P), which is really great if you just want to use the Preview mode occasionally or need to disable / enable it quickly.
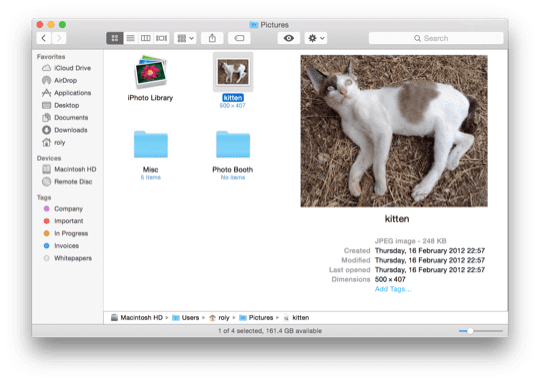
The Preview pane should now have appeared (see the screenshot below), and show various information about the item selected, whether that’s a file or folder.
The information show depends on the item itself – for example, image dimensions are displayed for pictures, but whatever the file type, the Created, Modified and Last Opened fields are also show, as well as the name of the file and the type – in this case it’s just a JPEG image called “kitten”.
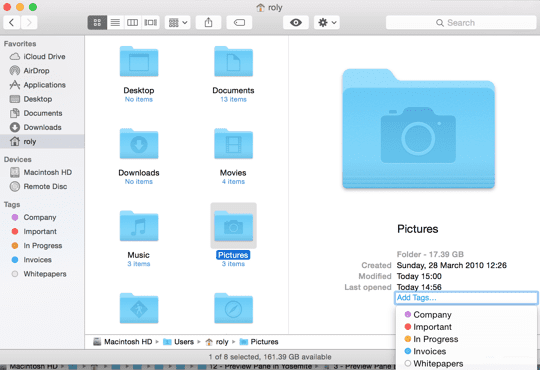
If you select another type of item like a folder, you’ll see relevant details too, but in the case of folders, just the three fields already mentioned. However, you also have the ability to add Tags right in the Preview pane, giving a bit more flexibility in how you use and manage them.
That’s really all there is to using the Preview pane in OS X Yosemite. It’s a small but incredibly useful feature if you don’t always want to use the Spacebar to preview files, but would rather view them right in the Finder widow.
Related
If you want to know how to save images as GIF/Photoshop formats in Preview, check out our earlier article. You can also adjust image sizes directly in Preview, described here.