Jailbreak iOS 12.1.2 using Uncover for iOS 12 on every iPhone, iPod touch & iPad – The new iOS 12 – 12.1.2 jailbreak for all devices is now available to download! That’s right, after months of waiting for a new jailbreak utility for iOS 12, it’s now possible to jailbreak your iPhone, iPod or iPad running iOS 12 through iOS 12.1.2! In addition to being able to download Unc0ver for iOS 12.1.2 and lower, this tutorial will guide you through the steps to jailbreak iOS 12.1.2 successfully.
Devices supported by iOS 12.1.2 Jailbreak
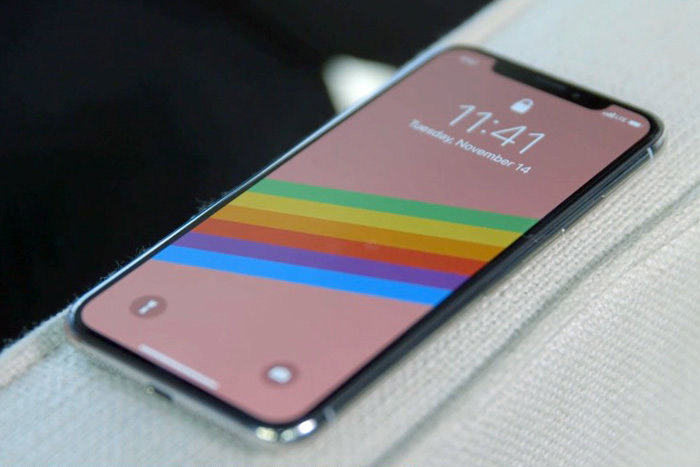
The following devices are compatible with the Unc0ver Jailbreak running all firmwares from iOS 12 through iOS 12.1.2:
- iPhone X, 8 Pus, 8, 7 Plus, 7, SE, 6S Plus, and 6S (A9 – A11)
- iPhone 6 Plus, 6, and iPhone 5S (A7 – A8)
- iPad Air 1 / 2 and 5th-gen iPad
- iPad Mini 4, 3, and 2
- iPad Pro: all models, but 2018
- iPod Touch 6th-gen
Note: A12 devices are not currently supported with the first beta release of unc0ver. This includes the following:
- iPhone XS Max, XS, XR
- iPad Pro 2018
Support for A12 is expected to come soon. Stay tuned (bookmark this page for updates).
Preface: How the iOS 12 Jailbreak works (technical stuff)
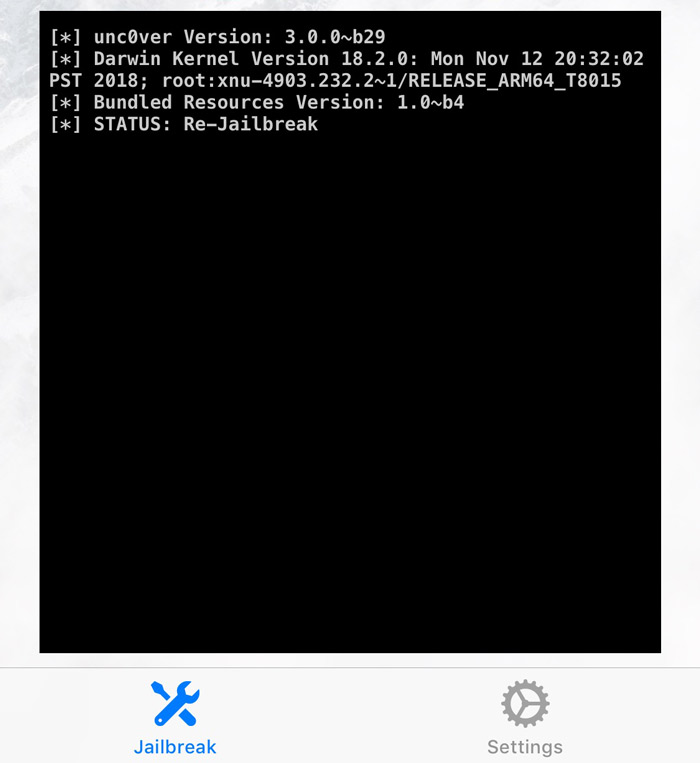
First it’s crucial to understand how the iOS 12 unc0ver jailbreak works. The utility is, similar all of its recent predecessors, a semi untethered jailbreak. This means that when you reboot your device, you will be required to re-run the on-device application to re-patch the kernel. Thankfully though, you will not need the assistance of a computer upon every reboot (this advantage is what makes it semi untethered).
Furthermore this means that in order to jailbreak iOS 12.1.2 and lower, you’ll be required to side-load an unsigned app onto your device. There are two methods of doing so: either A) using your own Apple ID to generate a certificate or B) using a developer enterprise app (this option can be sketchy). In today’s guide, we’ll be walking you through the steps for the former.
To elaborate further, when iOS 9 was released, Apple allowed individuals without a developer account the opportunity to develop and test applications on their personal devices. This move enabled more individuals to “get their feet wet” when it came to iOS development. The only caveat is that self signing merely generates a 7 day certificate – i.e. the unauthorized app must be re-installed every week.
Due to the rather complex nature of creating a jailbreak, developers have used this self-signing app method to essentially eliminate previously required exploits that allowed for unsigned code to run on iOS. Again since we can now sign apps ourselves using Apple’s own solution, self-signing is now critical when jailbreaking. TL;DR, from the developer’s prospective, it’s a way to make the jailbreak with one less step.
The above paragraphs are merely to convey that we’ll need an Apple ID to sign the jailbreak iOS 12 uncover app, that you’ll be required to re-run the app every time you reboot (if you want to use anything jailbreak-related), and that said app will need to be resigned using your Apple ID every week.
Uncover Jailbreak iOS 12.1.2 tutorial: the Steps
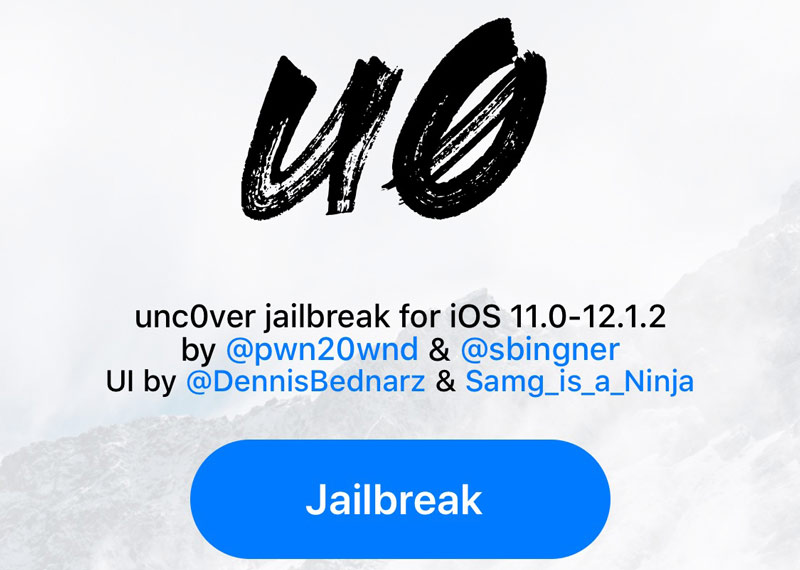
Step 1: Download the latest version of the Undecimus IPA (the unc0ver app), the most recent version of iTunes, and Cydia Impactor for either Windows or macOS. All of said downloads can be found in the download section listed below (jump there by clicking here).
Note: You may also need to grab the tvOS beta profile too if you encounter issues with frequent iOS update notifications – more on that later.
Step 2: Connect your iPhone or iPad to your computer via a standard USB cable and ensure iTunes recognizes your iDevice. If iTunes doesn’t, you’ll need to establish a connection by tapping “Trust” on your iDevice and “Continue” inside iTunes.
Step 3: Quit iTunes and launch Cydia Impactor (again this is available to download below).
Note for macOS: mount the .dmg Cydia Impactor download and drag the program to your applications folder. If you receive an alert about not being able to open Cydia Impactor because it was downloaded from the internet, you may need to allow it inside the System Preferences app > Security & Privacy.
Note for Windows: the download will come in a .zip format – you’ll need to extract Cydia impactor from the zipped file. We recommend extracting the program to your desktop as it’s easy to access. Do not run the program as an administrator, as that disables the ability to drag files into the interface, which is key for the iOS 12 unc0ver jailbreak. Merely run Cydia Impactor as you would a normal application.
Step 4: Verify that your iDevice is recognized by Cydia Impactor and that it’s selected in the top drop-down menu. Drag the Undecimus (uncover) .ipa into the Cydia Impactor interface.
Step 5: Input your Apple ID, followed by your password and click “OK”. This step simply uses Apple’s own self-signing service that we discussed above. Your information is neither collected by Saurik (the creator Cydia) nor is it directed through any server other than Apple’s.
Important Note: if your Appel ID has two-step verification, you’ll be required to create a single app password. However for the sake of simplicity, we recommend that you just create a new Apple I’d instead (click here). This is also useful if you don’t want to use your personal Apple ID for any reason.
Step 6: Once the Unc0ver Jailbreak iOS 12.1.2 app is installed, open the Settings app. Navigate to General > Device Management. From there find your Apple ID certificate (it was used to sign the jailbreak app in the previous step), tap it, and tap “Trust” two times.
Step 7: You will need to delete any pending OTA software updates your device may have attempted to auto install. Navigate to Settings > General > iPhone Storage (which will dynamically say iPad or iPod depending on device), find the software update, tap it, followed by “Delete Update”. Next, install the tvOS beta profile to prevent OTA iOS software updates from loading – this is available in the download section.
Step 8: Open the Unc0ver app on your iDevice and tap the jailbreak button. Your iDevice will appear as though it’s rebooting (this is normal and is actually a respring).
Step 9: When your iDevice comes back, open the Unc0ver app again and tap jailbreak once more. At this point, the jailbreak iOS 12.1.2 process is now complete.
Important Notes after Unc0ver Jailbreak
Once you’re jailbroken, it’s important to realize that because this utility is semi untethered (as stated at the beginning of this article), you will be required to re-run the unc0ver app every time your device powers off and turns back on.
Furthermore, unless you’re a registered developer (i.e. you pay Apple $99/year to develop and publish apps on the App Store), you’ll be required to re-run the steps listed in this tutorial to install the Unc0ver jailbreak every seven days. This restriction is due to the aforementioned limitations of self-signing applications through Apple.
Congratulations, you’re successfully Jailbroken!
See, jailbreaking your iPhone or iPad iOS 12.1.2 is relatively easy and takes less than ten minutes. Thank you for utilizing our tutorial to jailbreak and we hope you’ll follow us on social media to stay informed when we post new coverage pertaining to iOS 12+ jailbreak tweaks, inevitable Unc0ver updates, new jailbreaks for future versions of iOS, and so much more.
Download Unc0ver iOS 12.1.2 Jailbreak App
Click here to download just Unc0ver (quicker link).

Click here to download Uncover, Cydia Impactor, and iTunes.
