It is easy to enable as well as hide your dock on your Mac running macOS. When it comes to the menu bar that sits at the top of your desktop, things need a little tweaking. In the past, you probably needed a third party app to hide the menu bar, not anymore.
Here is a Quick tip that can get you going!

With macOS Sierra, it is relatively easy to enable and disable the menu bar at the top your screen.
Enable and Disable Menu Bar from the Top of Your MacBook Screen
Step – 1 Click on > System Preferences
Step – 2 Click on General
Step – 3 The second check box on the screen “Automatically hide and show the menu bar” is the key setting. Check this box.
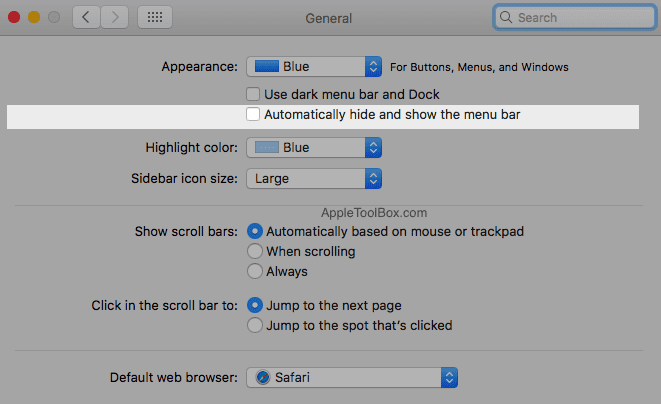
This will hide your menu bar from the top of your screen.
How to Enable or Disable Dock on Your MacBook
In order to disable your dock from appearing on the main screen, click on system preferences followed by Dock.
Check the “Automatically hide and show the dock” here and your dock will be hidden. It will only show up when you drag your mouse pointer onto the bottom of the screen.
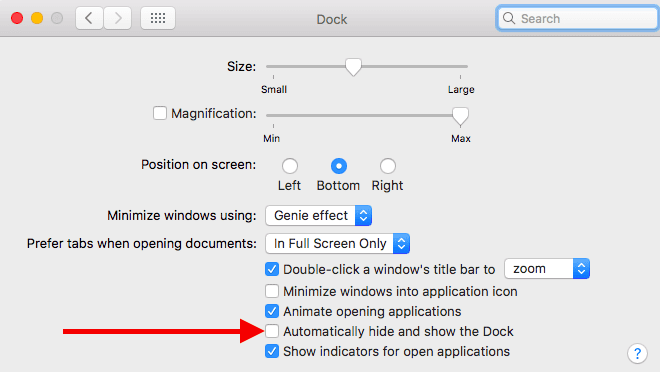
On this screen, you can also choose to customize your Dock icon and size as well as change the position of the dock on your screen.
In order to change the overall size of the dock items, click and drag the size slider till you like a size that you like.
Similarly, if you want the dock to be moved from its default bottom position, click on ‘Position on Screen’ options and the dock will adjust to the new location.
These are simple settings that we tend to forget over time. This will be a handy tip next time you are trying to locate your missing dock or menu bar on your Macbook running macOS Sierra.
We hope that you found this quick Mac tip useful. Please let us know in the comments below if you like to share some of your favorite Macbook Tips.
