Contents
iOS Mail Gestures: Background
Gestures for iDevices have come a long way since iOS 8. Simply put, gestures are interactions that you have with the iOS device by either tapping, pinching, panning or dragging, swiping, rotating and long press or touch and hold. Depending on the mobile device capabilities, you are afforded to interact using various gestures. We have come a long way since using just “Tapping” and “Pinching”. In earlier iOS versions these were the primary forms of interaction. In this article, we will show you some of the ways to customize your iOS Mail gestures.
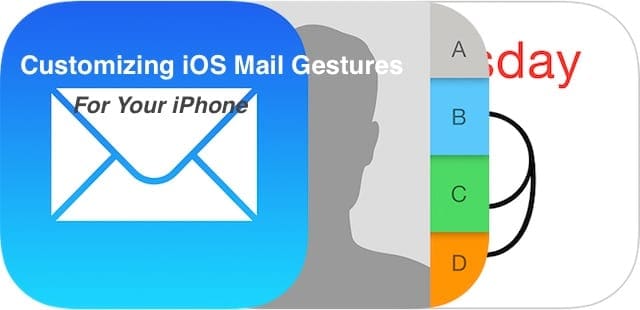
iOS Mail Gestures
Although the set of gestures available in iOS mail for customization is limited, one can still use it to his or her advantage. These are especially handy when you are trying to manage your emails in a hurry. The basic gestures in iOS are swiping right or swiping left. You can change the settings to control what actions your iDevice / iOS will perform when you use these gestures i.e swipe right or left while reviewing your emails.
Assessing your iOS Mail Gestures
Your iOS Mail gestures can be accessed by going to Settings > Mail (or Mail, Contacts, Calendar) > Swipe Options. There are two fundamental options available to you here. These are Swipe left and Swipe Right.

Each one of these swipe choices will allow you to set up various actions to your preferences. Let’s start with the more natural swipe. Most people by habit choose to swipe left on their iOS devices. The Swipe Left by default in iOS Mail shows the option “Flag”. Tap on it to see the other options available to you. Your choices are None, Flag and Move message. These options let you quickly access features like Trash, flag, and archive by swiping list items to the left.
Understanding the Available Options
When you set this option to Flag, upon swiping from left to right on the email list in iOS Mail, you will be shown the More | Flag | Trash options. If you wanted to move the email to trash directly instead of seeing these options every time, you can change the setting from Flag to “Move Message”. This will automatically move the email out of your inbox when you swipe left saving you an extra step.
Similarly, the Swipe Right option allows you the options of using “Mark a Read”, Flag or Archive the email. When you Flag the email, it sits on your flag folder and lets you get back to it later so that you can appropriately move the email to the right folder of trash it. This is an effective way to keep your inbox tidy. Your inbox contains all your important emails that you are working on or need to respond to or take action on. The rest of the emails can be flagged and handled later.
In Settings > Mail (or Mail, Contacts, Calendars,) you can tap your iCloud account at the top, then Mail under the Advanced heading. Scroll down and tap on advanced to control which mailboxes are used. This is where you can specify that a left swipe on an email puts it in the archive box instead of getting deleted.
I find it practical to set up my swipe left to delete the email and use the swipe right to flag the item so that it can handled later. By flagging it, I am able to decide whether to archive a particular email or move it into trash.
Take these easy options out for a test ride on your iPhone or iPad and use the one that suits you the best!