This short article describes how to flush (or reset) the DNS cache. DNS queries (IP addresses) are usually cached, but sometimes it may be necessary to empty and flush the DNS cache. Clearing (or “flushing”) cache refreshes this data. For instance, if you experience a lot of 404 (cannot find server) error codes or you encounter issues where the named server is not resolving properly, you may want to reset your DNS cache. Luckily, this process is really easy.

About Your Mac’s DNS Cache
macOS and OS X keep a local cache of resolved DNS queries for a time specified by the DNS server. Sometimes it’s necessary to reset the cache immediately and re-query a DNS server. For example, if your DNS server has recently changed, you might need to do this.
If your Mac isn’t using the latest DNS entries from your server, restarting your Mac usually updates its cached information. If you want to update DNS entries and you can’t restart your Mac or Server using macOS or OS X, use the terminal commands below (dependent on macOS or OS X version.)
Flush the DNS cache in macOS Sierra and different Mac OS X versions
macOS Sierra
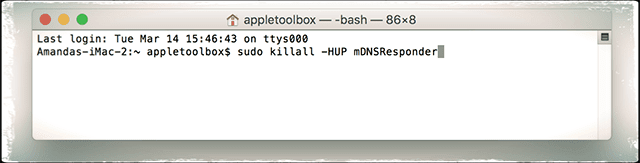
Open Terminal and enter the command below. This command clears MDNS and UDNS caches. DNS in macOS is handled through mDNSResponder, killing the process is the easiest way to reset your DNS cache on a Mac aside from rebooting and manually changing DNS settings. Remember that when prompted to enter a password, enter your Mac login password and hit Enter.
sudo killall -HUP mDNSResponder

The command sudo dscacheutil -flushcache also works
OS X 10.10 Yosemite & El Capitan
Use the following Terminal command to reset the DNS cache in OS X v10.10.4 or later
sudo killall -HUP mDNSResponder
Use the following Terminal command to reset the DNS cache in OS X v10.10 through v10.10.3
sudo discoveryutil mdnsflushcache
Enter your admin password when prompted to perform the flush.
OS X 10.9 Mavericks
Open Terminal and enter:
dscacheutil -flushcache;sudo killall -HUP mDNSResponder
OS X Mountain Lion or Lion (10.7 and 10.8)
Launch the Terminal app (Applications > Utilities > Terminal) and enter (put in your admin password when prompted):
sudo killall -HUP mDNSResponder
Mac OS X 10.6 and 10.5
Open Terminal and type:
sudo dscacheutil -flushcache
Mac OSX 10.4 And Below
Launch Terminal and enter:
lookupd -flushcache
Verify Your DNS Issues Are Resolved
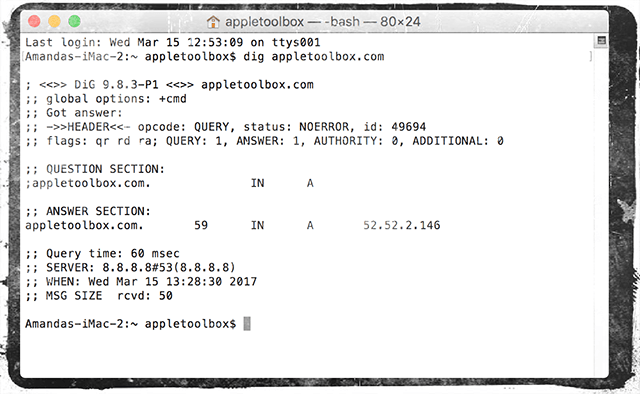
To check whether your DNS is now working normally, use the “dig” command. Stay in Terminal and type “dig appletoolbox.com.” Or the name of any website you regularly visit–just make sure you type dig before the web address.
The command dig is used for querying DNS name servers for information about host addresses, mail exchanges, nameservers, and related information. If speed is your issue, look under the ANSWER SECTION for the Query time.
If that number proves too high, meaning it’s taking too long for the site to load, change your computer’s, devices’, or router’s DNS settings to Open DNS Servers (208.67.222.222 & 208.67.220.220)or Google Public DNS Servers (8.8.8.8 and 8.8.4.4.)

Save a .scpt File to Your Desktop for Quick Access
- Open “Script Editor” and add the following command and then save to your desktop (copy and paste the following line including quotes)
- For macOS Sierra, do shell script “sudo killall -HUP mDNSResponder”
- For El Capitan, do shell script “sudo dscacheutil-flushcache; sudo killall -HUP mDNSResponder”
- Double-click that file anytime you need to flush the DNS
- If you want a message in Terminal letting you know that the DNS was flushed add the following command to your line
- ;say DNS cache was successfully flushed