Several users have reported they were unable to activate their iPhones after a restore or update process (e.g., “Erase All Content and Settings”).
They further reported they received this error: “We’re sorry; we are unable to continue with your activation at this time.”
If you are having this problem, please try the following tip to resolve your iPhone activation problem.
Contents
Quick tips 
Follow these quick tips to activate your iPhone or iPad after a restore or update
- Try a restart or a forced restart
- Check Apple Servers current status
- Try a different WiFi connection (or switch to cellular data)
- Reset your iPhone’s network
- Activate your device using iTunes
- Try a different SIM card or remove the current SIM card and reinsert it
- Use Recovery Mode (requires iTunes)
Related article
- iOS: Everything about DFU and Recovery Mode
- iPhone Apps Won’t Load After Restore, How-To Fix
- iPhone Stuck On Updating iCloud Settings During iOS Install or Restore?
- Using iOS (iPhone, iPad, and iPod) recovery mode to fix your problems
Try this first: Restart Your iDevice!
- Turn off your device normally by pressing and holding the side or on/off button for a few seconds until the red slider appears, then slide the slider
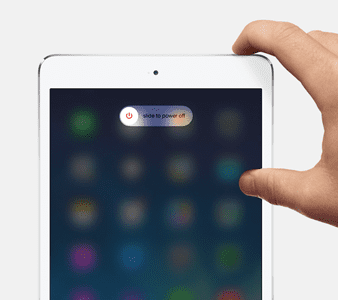
- Remember to wait for the device to turn off entirely, then power back up
If restarting didn’t do the trick, check out our additional solutions below.
Tips to Solve the Activation Error “we’re sorry, we are unable to continue with your activation at this time.”
Busy Apple Servers?
If you just received a new device, along with a zillion other people during launch week or on holidays like Christmas, it’s possible that Apple is just plain flooded with traffic requests! 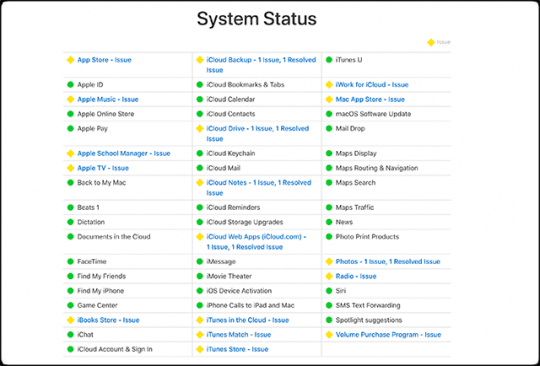
The best course of action is to wait until later in the day or the early morning hours when traffic organically drops.
In case there’s a problem at Apple’s end, check Apple’s System Status page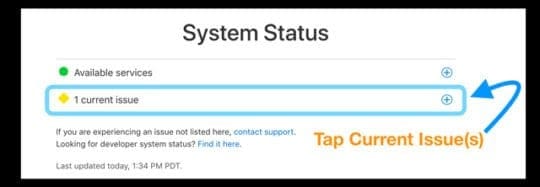
- Tap Available Services or current issues
- Look for iOS Device Activation
- If it isn’t green, try to activate later
Try a Different Network Connection 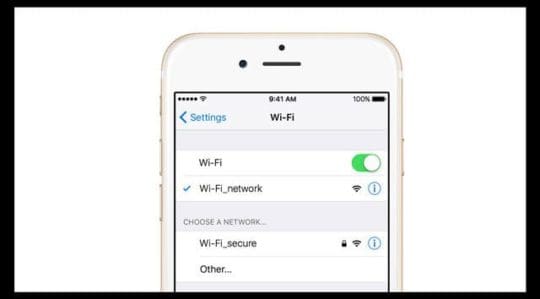
- If you have more than one WiFi network available, try using a different 2.4 GHz network
- For folks with LTE data, try connecting via cellular data instead of WiFi (turn WiFi off temporarily)
- Visit a friend or a local business that offers WiFi and try there
Reset Network Connections
This option resets all your network connection options and sets your device’s network settings back to the factory defaults. Clears your current cellular (if applicable) and WiFi networks, including saved networks, WiFi passwords, and VPN settings.
Before you reset your network’s settings, be sure have your WiFi network name and passwords available for re-entry.
- Another viable option is to reset your network
- Go to Settings > General > Reset > Reset Network Settings
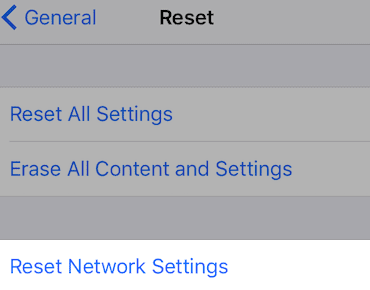
- You need to sign in again with your password to WiFi networks
Activate Via iTunes Instead of OTA (Over-The-Air) 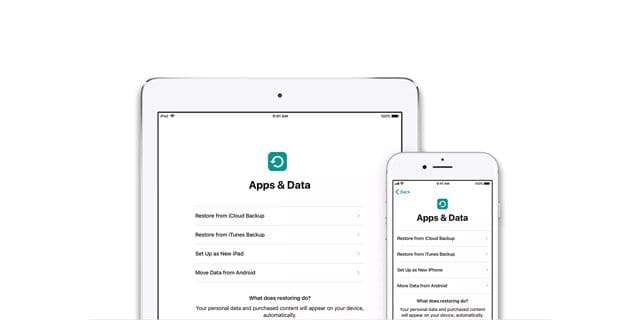
How do I activate my iPhone through iTunes?
- All you need is access to a computer with iTunes–it doesn’t have to be your computer
- Connect your device with your lightning cable (original if available) and open iTunes
- Turn your device on
- Wait while iTunes detects and activates your device and follow the on-screen prompts
- If iTunes shows, “Set up as New” or “Restore from Backup,” it means that iTunes activated your device
- If an error in iTunes says that the SIM card isn’t compatible, contact your carrier for a different SIM
Change Your SIM Card or Remove/Reinsert
- Try another SIM card and see if you can activate
- Or if another SIM isn’t available, check that your current SIM is seated correctly in the SIM Tray
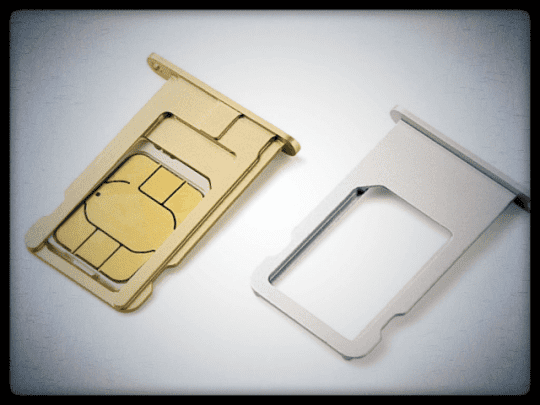
- If your device normally uses a SIM, make sure there is a SIM card in place–even if you intend to use the device as WiFi only and don’t have an active mobile contract
Try a Forced Restart
- On an iPhone 6S or below plus all iPads & iPod Touches, press Home and Power at the same time until you see the Apple logo

- For iPhone 7 or iPhone 7 Plus: Press and hold both the Side and Volume Down buttons for at least 10 seconds, until you see the Apple logo
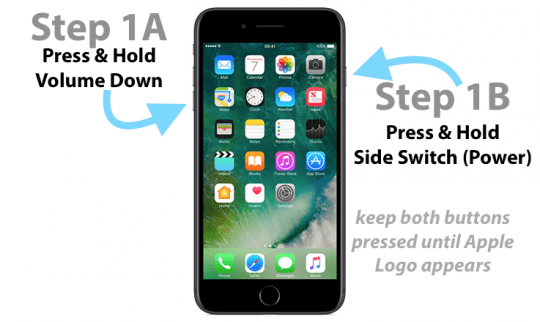
- On an iPad or iPhone with no home button or an iPhone 8 or iPhone 8 Plus: Press and quickly release the Volume Up button. Then press and promptly release the Volume Down button. Finally, press and hold the Side button until you see the Apple logo
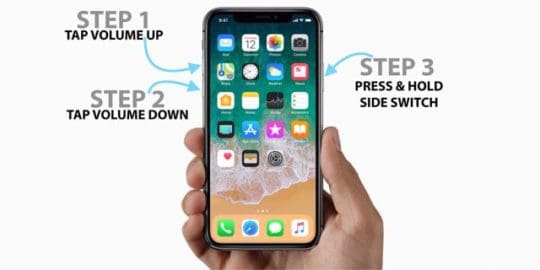
Go Into Recovery Mode Using iTunes
- FOR ALL DEVICES
- Backup your device before entering recovery mode
- If iTunes is already open, close it. Connect your device to your computer and open iTunes
- While your device is connected, force restart it using the steps listed above, BUT DON’T release the buttons when you see the Apple logo, wait until the connect to iTunes screen appears
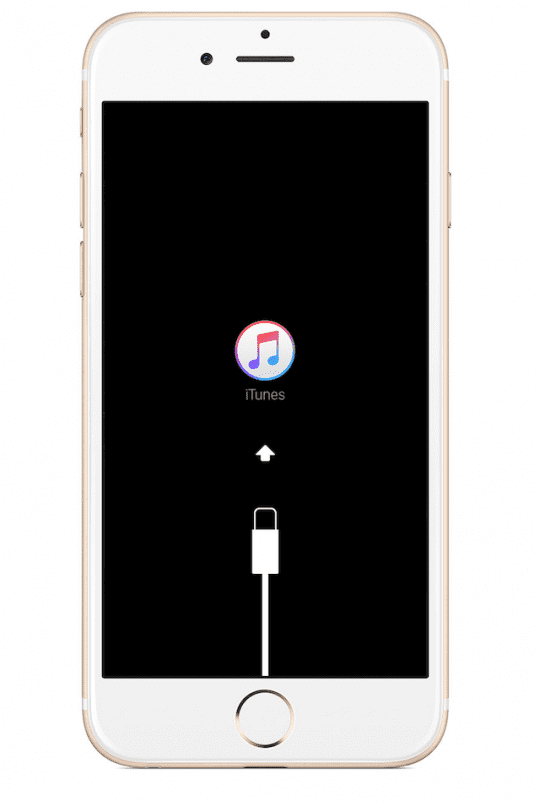
- If the apple logo first appears, that’s fine. Just wait a little longer, and then the Connect to iTunes logo appears. Thanks to our reader Sarah for this additional info!
- When you see the option to Restore or Update, choose Update
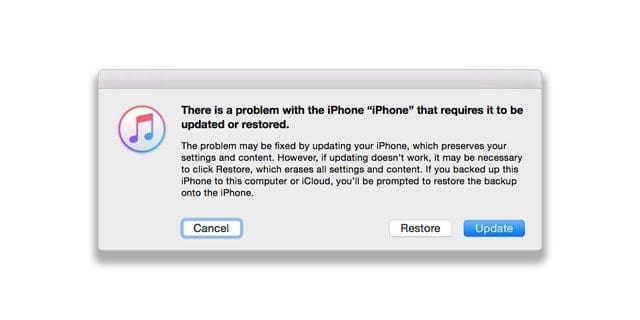
- iTunes attempts to reinstall iOS without erasing your data
- If the download takes more than 15 minutes and your device exits the connect to iTunes screen, let the download finish, then go back to step 3
- After the Update or Restore completes, set up your device
Reader tips 
- For Sarah, she decided to manually delete everything instead of factory resetting. Sarah also notes that if you see the Apple Logo after holding down the home button and plugging in the USB, be patient and wait for the iTunes logo to appear on your device’s screen