With Continuity and Handoff, Apple has made the cohesiveness of all your devices, from Macs to iPhones, even closer. macOS introduced the Universal Clipboard feature which will allow you to easily cut and paste between your Mac and your iPhone or iPad. Essentially, what this does is move the content to iCloud so that multiple devices can access it easily.
The only caveat is that all devices must be running either Sierra or iOS 10, and signed into the same Apple ID.
One feature that has come as a result of this new system is the ability to share your screen with friends. The ability to share your Mac’s screen with others can be advantageous in many circumstances. For example, you want to walk someone through your project settings, or your powerpoint slides or your Mac settings configurations, this can come in handy.
Although there are quite a few third party apps such as Screenleap that you can use, You can also easily accomplish the sharing in macOS Sierra with the use of a third party app.
Here’s how you can share your Mac Screen on macOS Sierra:
First, launch the iMessages app and make sure you are signed on.
Next, click on a thread that you’ve already begun, or start a new thread, with the person you’d like to share your screen.
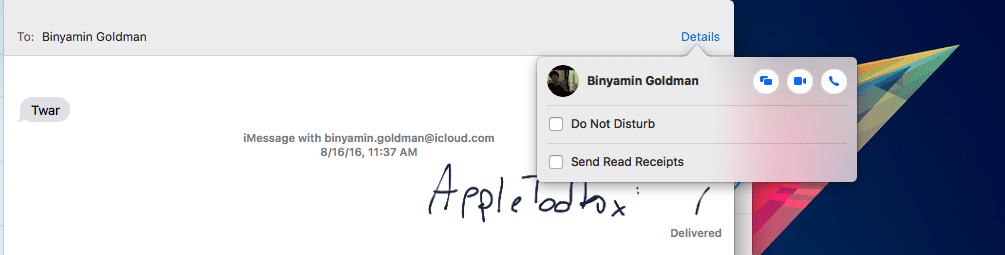
After that, click on ‘Details’ at the upper right of the application.
Here, you’ll see a number of buttons, push the screen sharing button.
And that’s it! Now, once your friend accepts, you can share each others screen and share information with each other. The feature works for all users with Apple ID’s, and is supported on most recent Mac updates.
Screen sharing will also be available alongside macOS Sierra this fall, however, you can try it out now with the Beta program.
Please take a look at some of the other macOS features that is available in macOS Sierra.