With the advent of iCloud and it’s potential, many people have started using it to store different types of information such as photos and music. Sometimes, you just want to download pictures from iCloud onto your personal flash drive or a USB drive. This article shows you how to do that in simple five steps.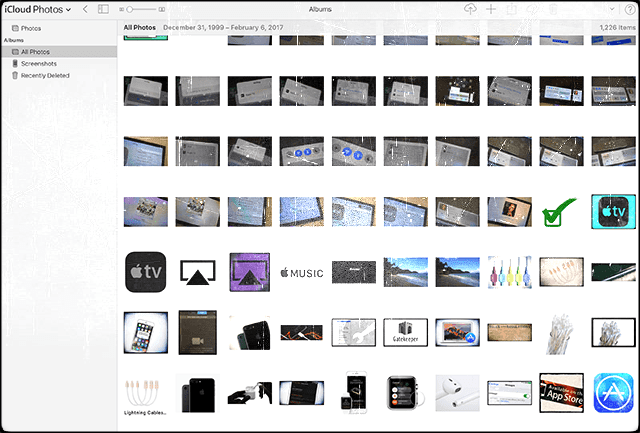
Contents
Related Posts
What’s iCloud Photo Library?
iCloud Photo Library stores every photo and video you take and keeps them up to date on all your devices. Any edits you make are automatically updated everywhere. iCloud Photo Sharing makes it easy to share photos and videos with exactly the people you want to see them.
The iCloud library stores the original resolution photos and videos and stores a lightweight version on your device. This feature has been an excellent addition as it saves a lot of storage space on your device.
As a result, many users have seen their number of photos in their iCloud account grow over the last few years. Although the iCloud makes it easy to share the images with your friends and family, sometimes you just want to download them to your personal drive and keep them handy ..Just-in-Case…You never know.
Here are the necessary steps to download all your photos from iCloud and store it on a USB or a zip drive:
Step – 1. Change Default Download Location
If you are using Safari to access icloud.com, first modify the default download library and point it to your USB drive. Go to Safari > Preferences > General. And remember to switch that default download folder location back to its original position once you complete the download of all your iCloud photos.
All browsers allow you to change your default download location. Most often that setting is found in the browser’s preferences usually located underneath the browser’s name in the menu bar. Also, pressing the command key (⌘) + comma (,) key brings up the preference menu for most browsers, including Safari and Chrome as well as others.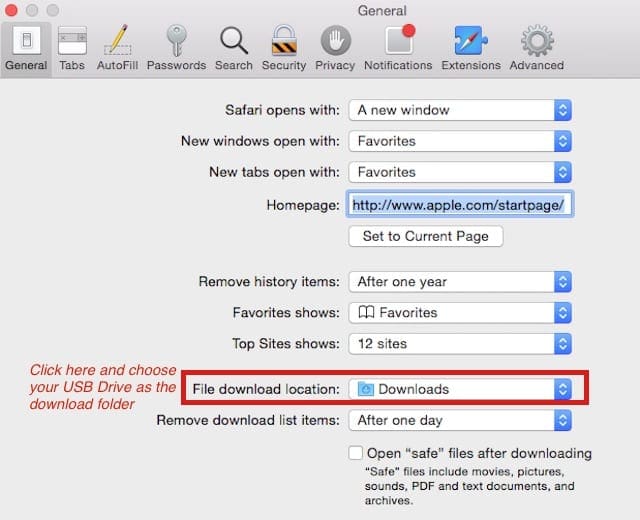
Step – 2. Log into iCloud
Log into icloud.com using your computer and provide your Apple credentials (ID and password)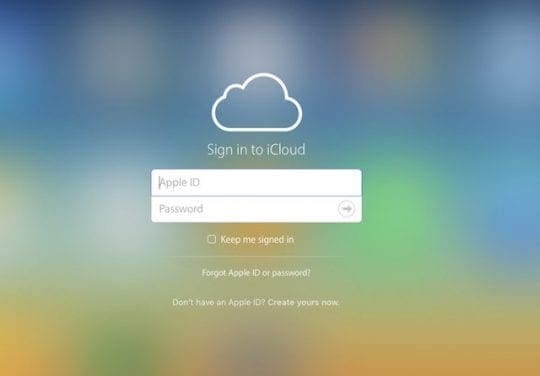
Step – 3. Open Photos App
Once you have logged in into your iCloud account, you see the screen with all the various iCloud folders. Click on Photos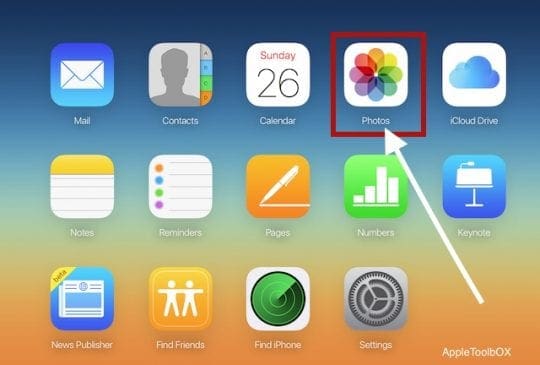
Step – 4. Select Photos to Download
Click your selected photo to highlight for download. To select multiple images, hold down the command key (⌘) and continue holding until all photos are selected.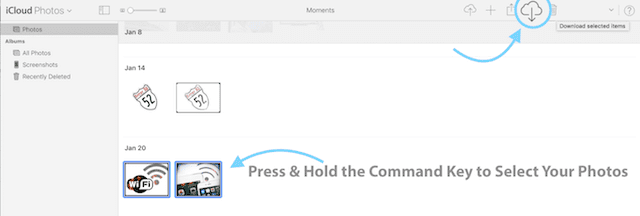
If you highlighted a photo that you don’t want to download, press the command key (⌘) again on that photo to deselect.
Step – 5. Download Photos
After selecting all those pictures that you want to download, click on the Download Cloud (cloud with the arrow facing down.)![]()
Now, all your chosen photos download to your default location (usually the default download library for your browser.) If using Safari, follow the steps listed above to change that place to your external drive. And if you can’t find those downloads, click on the downloads button to open recent downloads and select the magnifying glass to discover its location.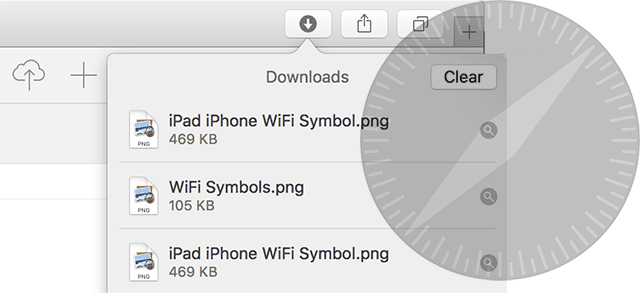
Don’t forget to switch that default download folder location back to its original position once you complete the download of all your iCloud photos
Using a Windows PC? 
- Manually download all the files from Apple’s iCloud website to a folder on your PC and then copy/paste or move them to your USB drive
- Download iCloud for Windows and find the iCloud folder in your File Explorer. Then, copy the photos from your PCs’ iCloud folder and paste them to your USB Drive
Summary
Apple’s iCloud is a safe and secure drive for the most part. The risk of losing your favorite images and photos could be huge if something happened to your iCloud account. Some people have thousands and thousands of photos that have been stored for over several years.
Follow this process if you want to save some of your photos on an external drive. It’s best to be safe and sure that you have a backup for a rainy day. And if something happens to your iCloud account, you’re covered and can retrieve your images at any time.