We have all been there, some more than others. At the end of the weekend, you realize one more weekend is gone and you didn’t backup your Mac and then you make a mental note about accomplishing the task next weekend. Neil Patrick Harris once quipped that Nothing makes a person more productive than the last ten minutes. That ten minutes is now. Lets do this together and we will provide you with the tips to backup your Mac in Ten Minutes or less.
If you have never done a backup on your Mac, you are already treading on thin ice. Although the machine is well built, it cannot always compensate for your, shall we say attention to other worldly matters.
There are many services out there that can help you with a quick backup. I prefer to use DropBox for a simple backup. It is probably the simplest, fastest and easiest option. At its basic, it is designed to sync anything that you put on a single folder to the cloud and from there you can easily share the files with your other OS X and I OS devices.
Using DropBox to Quickly Set-up a Backup
Step – 1 Signup for a free account at Dropbox.com and download the software to your Mac.
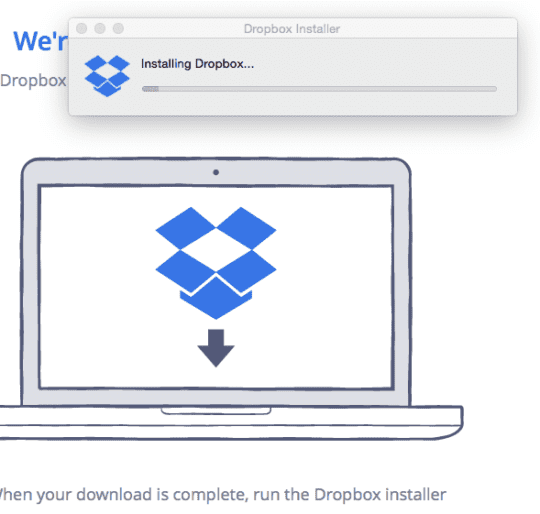
Step – 2 Once you have installed the dropbox software, it will prompt you to open the Dropbox folder

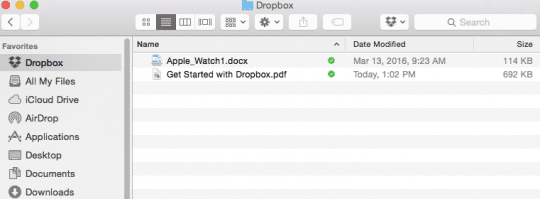
Step – 3 Move the files into the dropbox folder that you want to backup.
Step – 3 The free account from dropbox provides you with 2 GB of data or you can choose to pay $10 per month for 100GB of data. I have found that when my iCloud free storage is chocking, I tend to backup my most important files into the free storage provided by DropBox.
Step – 4 Once you have set up the files in the dropbox folder, the files will upload and sync in the background. From a Mac’s perspective, this is just another folder. So you can easily open, edit and save any files to the folder. This is especially handy if you are travelling and need to access the files over internet.
There are other cloud based offerings out there as well for you to consider including Google Drive and buying incremental storage from iCloud.
RELATED: Cloud Storage Pricing Plans and Options
As you can see, it’s a pretty straight forward process. The procrastinator in me tapped gently on my shoulder and asked what if you forget to drag your important files and folders to the Dropbox folder. Well if you are still reading and have another ten to spare, here is an easy way to tackle that issue using Automator workflow and a simple keyboard Shortcut on your Mac.
A little Bit of Automation
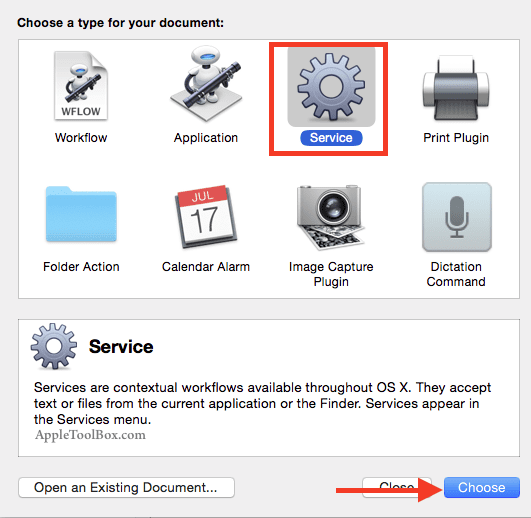
Step – 1 Start the Automator Program on your Mac
Step – 2 On the next screen select Service and click Choose
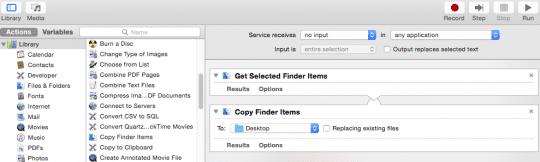
Step – 3 Configure the Workflow to “Service receives no input in any application”

Step – 4 From the Automator’s pane, select files and folders and then drag the “Get Selected Finder Items” and “Copy Finder Items” actions into the workflow area.
Step – 5 Open your Dropbox folder and create a VIP folder for your important stuff.
Step – 6 Drag this VIP folder to your “Copy Finder Items” action. Click on File >Save and name the workflow “Procrastinators Shortcut”

Step – 7 Launch System preferences > keyboard Preference > Keyboard shortcuts Tab
Step – 8 Select Services on the left side of the panel and scroll down the list till you locate “Procrastinators Shortcut” that you created in Step – 6
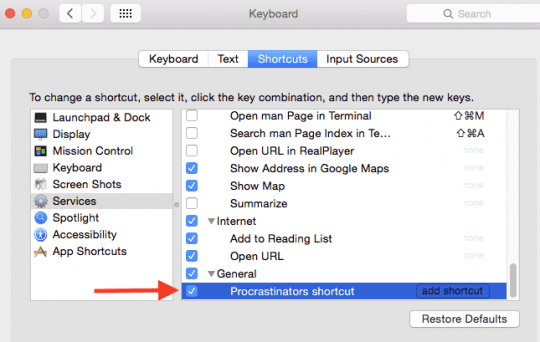
Step – 9 Click the Add Shortcut button and press a keyboard shortcut that you would like to trigger the service.
Step – 10 That’s it. When you need to add files into your DropBox folder, you have to select them in your finder window and press the keyboard shortcut!
Using Time Machine
Now, if you had a little more time than the ten minutes and another weekend, You can easily hook up an external hard drive and connect it to your Mac for your personal backup. This is especially helpful when it comes to storing your iPhoto and iTunes libraries.
Once you have connected your Mac to the hard drive via USB, Firewire or Thunderbolt, you will see a message from your Mac to confirm whether you would like to use the drive for Time Machine. Time Machine is the default backup program for Macs. Once you confirm, the program will automatically start backing up your Mac Drive to the external hard drive once an hour.
You don’t have to do a thing. Sit back and relax and let the Mac and the hard drive do the talking when it comes to backup. Time machine is the best option when it comes to affordable backups that you don’t want to share on the internet, especially with prevailing cheap external hard drives.
Once you start using Time Machine with your external drives for backup, you can very easily restore a single file, a folder or the entire system via a very convenient and easy interface. We highly recommend that you take the Time machine for a test drive.
Please let us know your favorite tricks and tips when it comes to managing your backups for your Macs.