Parental controls are a great way to limit what your child do on your Mac by restricting certain features and adding time limits to their computer usage.
In this tutorial we will be showing you how to enable and set up parental controls on a Mac OS X user account. This tutorial requires no additional software.
Enabling Parental Controls
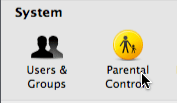
To start, open System Preferences. Once it has completely launched, look towards the System header. Under this heading, you will see an option labeled Parental Controls. Click on this option.

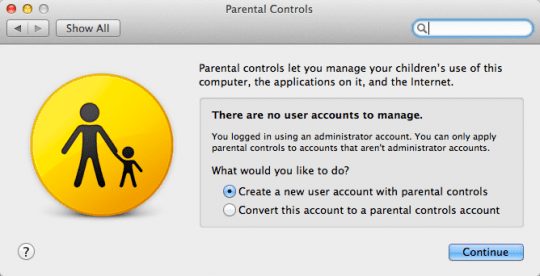
System Preferences will now ask you to either create a new account with parental controls or to apply parental controls to the account you are currently logged in to. For this tutorial, we will be creating a new account with parental controls. After you have chosen the option that applies to you, press the Continue button located towards the bottom right-hand corner of the window.

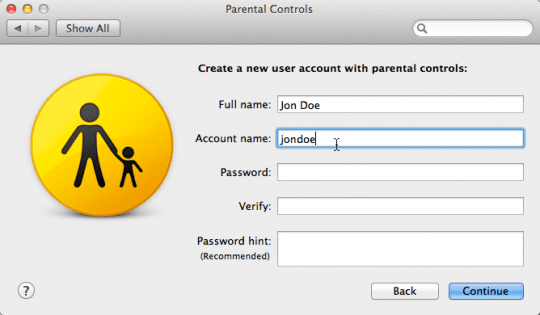
If you choose to make a new account, you will be brought to a screen to make a new user account. After you have created a new account, you will be redirected to a page where you can set up parental controls.

Setting Up Parental Controls
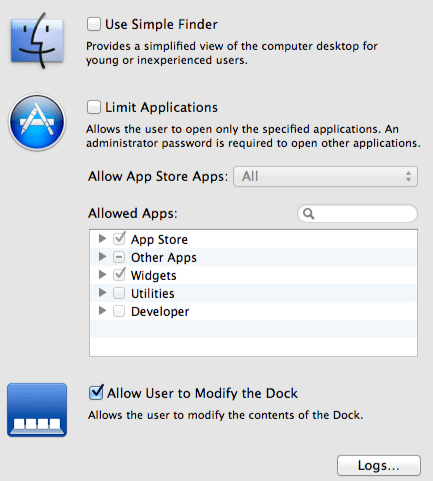
From here you can choose which apps you would like to refrain your child from accessing. In the Apps tab, you can restrict your child from using certain apps or from downloading or installing certain apps from the Mac App Store. You can even restrict downloading apps by age group. Lastly, you can restrict a child from modifying the dock.

If you click the Logs button, you can view your child’s web browsing history, app log, etc. This button is located towards the lower right-hand corner of the window.
If you click on the Web tab, you can customize the websites your child can visit. For instance, you can give them unlimited access to the Internet, restrict web pages that are deemed “inappropriate”, or allow access to only certain websites.

Under the People tab you can limit whom your child talks to in iChat or Mail. To do this, simply check whether you would like to filter Mail, iChat, or both. Now click the “+” sign that is located towards the bottom left-hand corner of the window. You can now type in the information of the person that you would like your child to have contact with.

If you would like to set time limits on your Mac, click on the Time Limits tab. From here you can set daily time limits, weekend time limits, or even a bedtime setting that restricts your child to using the Mac during only certain daytime hours.

The Other tab has options that you can set to restrict your child from burning CDs and DVDs and other useful options such as hiding profanity in the Mac’s dictionary.

Thanks for reading this Apple Tool Box tutorial. Please check back soon for more Apple related content.